

Printmaking Without a Press: Professional Results at Home
Professional printmaking is defined by an artist's control over ink and paper rather than the weight of a heavy steel press. Many creators believe that printmaking without a press means settling for amateur results or pa…Professional printmaking is defined by an artist's control over ink and paper rather than the weight of a heavy steel press. Many creators believe that printmaking without a press means settling for amateur results or patchy ink coverage. You might have felt limited by the equipment you can fit on a kitchen table, struggling to achieve the crisp finish of a studio edition.
Achieving high-quality results is entirely possible when you pair the right techniques with artist-grade materials. By understanding how paper weight and ink tack, the stickiness and suction of the ink, interact, you can produce gallery-standard prints that show no signs of being made by hand. It's about working with your tools instead of fighting against them.
We'll explore how to choose archival papers and specialised inks to ensure your work has a clean finish. This guide covers how to organise your workspace and use a baren or a wooden spoon to master the burnishing process, which involves rubbing the paper to transfer the ink. You'll finish with the skills needed to create sophisticated prints at home.
Key Takeaways
- Understand the fundamentals of relief printing and how manual pressure can effectively replace a mechanical press for high-quality transfers.
- Learn why professional-grade inks with longer open times are essential for successful printmaking without a press at home.
- Master the hand-burnishing process by using a baren or wooden spoon to achieve consistent ink coverage and crisp edges on every print.
- Discover how to select archival papers and high-tack inks that elevate your handmade work to gallery-standard editions.
Understanding Press-Free Printmaking Techniques
Lino and Woodblock Relief Printing
Relief printing is the most recognisable form of printmaking for those working at home. You carve away the areas of a block that you want to remain white, leaving the raised surface to carry the ink. Linocut is a favourite for home studios because the material is easy to manage on a standard dining table or workbench. Using soft-carving blocks is particularly helpful when you are printmaking without a press. These blocks are more supple than traditional grey lino, meaning they require significantly less manual force to achieve a solid, even transfer of colour. When working with multiple colours, you must master registration. This is the process of precisely aligning your paper with the block so each layer of colour sits exactly where it belongs.
Monotypes and Painterly Prints
Planographic printing, specifically monotyping, involves transferring an image from a flat, uncarved surface like an acrylic or glass plate. This technique produces unique, one-off impressions that feel more like a painting than a traditional print. To succeed with this method at home, you need a medium that stays wet long enough to manipulate. Using Matisse Acrylic Paint Structure combined with a retarder is an effective way to maintain "open time" on the plate. This allows you to capture fine details and textures before the transfer, resulting in a professional finish without the need for specialised machinery.
Essential Supplies for Hand-Printing Professional Art
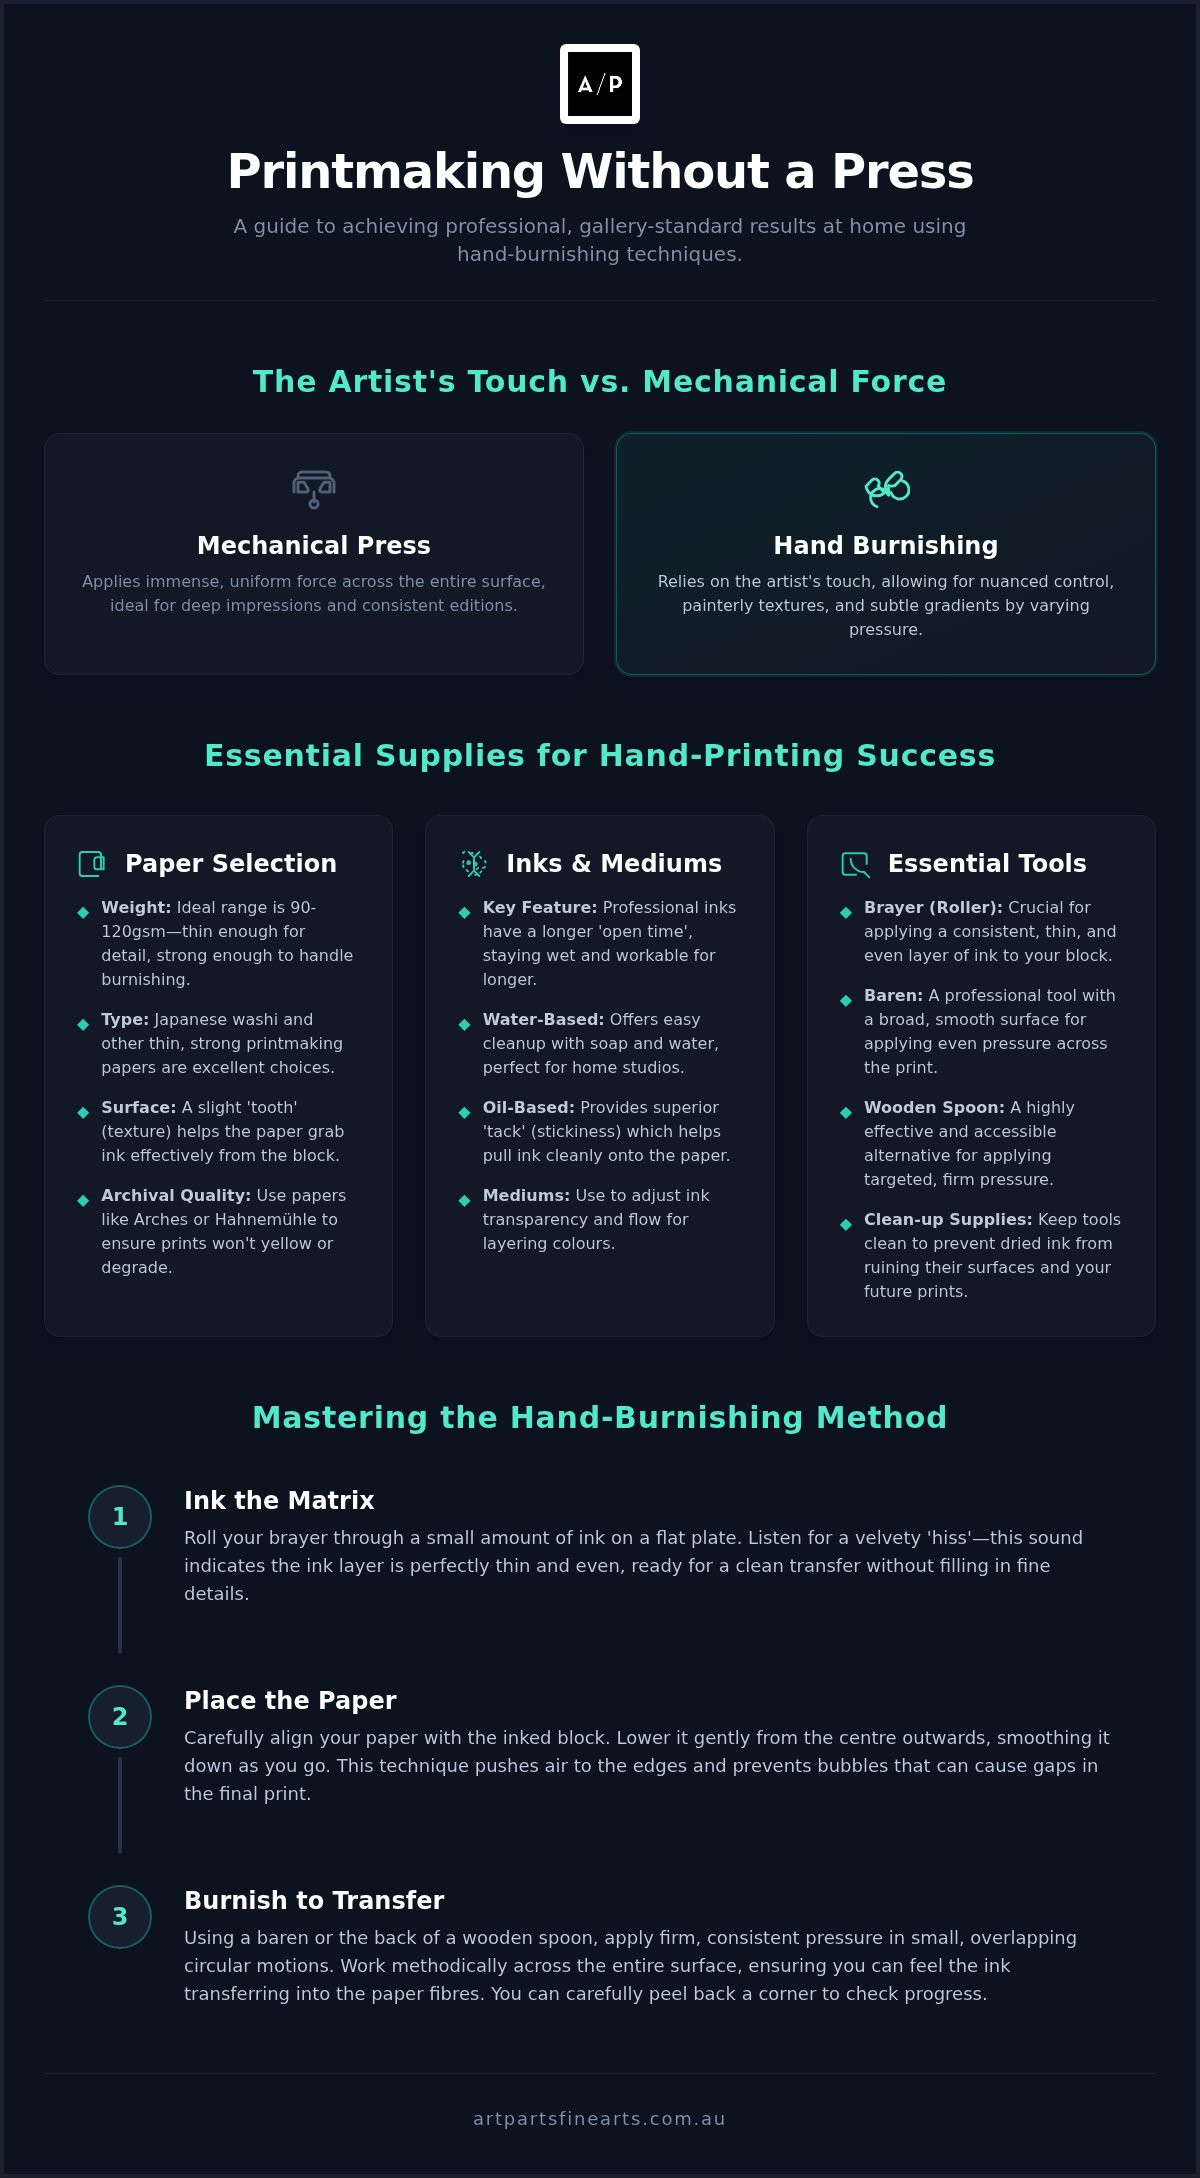
Successful printmaking without a press starts with choosing tools that compensate for the lack of mechanical force. Professional printmaking ink is different from standard acrylics because it has a longer open time. This means the ink stays wet and workable on your plate or block for longer, which is vital when you are hand-printing and taking more time to burnish the paper.
You'll need a quality brayer to apply a consistent, thin layer of ink. If the ink is too thick, details get filled in; too thin, and the print looks starved. To transfer the image, you can use a professional baren or a simple wooden spoon. A baren provides a broader surface area for even pressure, while a spoon allows you to apply targeted force to stubborn areas. Keeping your equipment clean is just as important as the printing itself. Always wipe down your rollers and plates immediately after use to prevent dried ink from ruining the surface of your tools.
Selecting the Right Paper for Hand-Burnishing
Paper choice is critical when you don't have a press to force the fibres into the ink. Thin, strong papers such as Japanese washi or 90-120gsm printmaking papers are ideal. They are flexible enough to pick up fine detail without requiring excessive pressure. The tooth, or surface texture, of the paper also plays a role. A slight texture helps grab the ink from the block, whereas very smooth papers might slip. For work intended for sale, choosing archival Arches and Hahnemühle paper ensures your prints won't yellow or degrade over time.
Inks and Mediums for Success
Water-based inks offer easy cleanup with soap and water, making them popular for home studios. However, oil-based inks often provide better tack, the suction that pulls ink onto the paper. You can adjust the transparency and flow of your ink by mixing in mediums. These allow you to layer colours without losing the details underneath. If you are preparing for a large project or teaching a class, you can find a variety of quality printmaking papers in our collection to ensure every student has the right surface for their work.
Mastering Hand-Burnishing and Transfer Methods
The success of printmaking without a press relies on your physical engagement with the materials. Once your matrix is carved and your paper is ready, the transfer process requires a methodical approach. It's a tactile experience that lets you feel the ink moving into the paper fibres as you work.
- Inking the matrix: Roll your brayer through the ink until you hear a velvety hiss. This sound indicates the ink layer is thin and even enough for a clean, professional transfer.
- Placing the paper: Align your sheet and lower it from the centre outward. This movement pushes air to the edges and prevents bubbles that cause frustrating gaps in your image.
- Burnishing: Use a baren or the back of a wooden spoon in steady, circular motions. Apply firm pressure across the entire design, ensuring you reach the very edges of your carved lines.
- Checking the transfer: Carefully lift one corner of the paper while keeping the rest firmly pinned to the block. This lets you inspect the coverage and re-burnish light areas without losing your registration.
Achieving Even Ink Coverage
If your print looks patchy or salty, it's often due to inconsistent pressure. Saltiness occurs when the ink doesn't fully saturate the paper tooth, the surface texture of the sheet. You can correct this by maintaining a consistent speed and working in overlapping rows to ensure every millimetre of the block has been addressed.
Advanced Hand-Printing: White Line Technique
The White Line technique is a brilliant option for artists who want multi-colour results when printmaking without a press. By carving thin channels between different colour zones on a single block, you can paint each area individually and print them one by one. This method simplifies the registration process and produces a unique, hand-painted aesthetic that is highly valued by collectors.
Browse our upcoming workshops to refine your hand-printing techniques
Advancing Your Practice with Specialist Tools
Moving beyond basic household items is the next step for any artist serious about printmaking without a press. While a kitchen spoon is a great starting point, investing in heavy-duty rollers and high-tack inks will significantly improve your consistency. High-tack inks provide the necessary suction to pull colour from the block to the paper with less manual force. These professional tools are designed to distribute ink more evenly, reducing the physical strain of hand-burnishing. You can also expand your creative range by incorporating mixed-media elements. Adding detail with charcoal or pens after your ink has dried allows you to build layers and depth that a single print might lack.
Art Parts Creative Workshops
Learning in a community environment is one of the fastest ways to troubleshoot common issues when printmaking without a press. Our workshops provide hands-on instruction in specialised techniques like White Line Printmaking. You'll learn from our staff, who are experienced painters and printmakers, in a supportive setting. They can help you refine your pressure and ink application, ensuring you walk away with the confidence to produce professional results in your own space. This shared journey often sparks new ideas that you won't find working alone.
Building a Home Studio Kit
Curating a home kit is about finding the best value for money without sacrificing quality. If you intend to sell your work, archival quality is paramount. Using lightfast inks and acid-free papers ensures your editions remain vibrant for decades. To deepen your technical knowledge, we recommend exploring our selection of books that focus on traditional Japanese woodblock and modern relief methods. These resources offer invaluable insights into how masters of the craft have perfected the art of printing by hand throughout history, helping you build a library of reference material for your studio.
Elevate Your Home Printmaking Practice
Mastering the art of printmaking without a press is about more than just technique; it's about respecting the materials that make professional work possible. By choosing archival papers and specialised inks with the right tack, you ensure your hand-pulled editions are ready for the gallery wall. The tactile feedback of a baren or wooden spoon gives you a level of control that mechanical rollers can't always match, allowing you to create painterly textures that are unique to your touch.
Our staff are practising artists who understand these nuances and are here to provide expert advice on everything from paper absorption to ink flow. Whether you are in our local studio or ordering professional-grade supplies for delivery, we support your creative journey with nationwide shipping across Australia. We take pride in curating tools that help you achieve consistent, crisp transfers every time you work in your own space.
We look forward to seeing the sophisticated prints you create in your own home studio and helping you find the right materials for your next edition.
Frequently Asked Questions
Do I need special ink for printmaking without a press?
Specialised printmaking ink is highly recommended because it has a higher tack, or stickiness, and a longer open time than standard acrylics. This allows you the time needed for hand-burnishing without the ink drying on the block. Using the right ink ensures a crisp transfer when printmaking without a press, preventing the patchy, salt-like results often seen with thinner craft paints that dry too quickly on the matrix surface.
What is the best paper for hand-burnishing lino prints?
Thin but strong papers between 90 and 120gsm work best for hand-printing because they are flexible enough to pick up fine detail. Japanese washi is a popular choice due to its strength and ability to absorb ink with minimal pressure. If you are aiming for archival quality, Arches or Hahnemühle printmaking papers provide a professional finish that resists yellowing, making them ideal for work intended for sale or exhibition in a gallery.
Can I use a wooden spoon instead of a professional baren?
You can certainly use a wooden spoon, and many artists prefer it for targeting specific areas that need more pressure. While a professional baren covers a larger surface area and provides a more even transfer across the whole block, the back of a smooth spoon is excellent for stubborn sections. It is a resourceful, low-cost tool that still delivers gallery-quality results when used with steady, circular motions during the transfer process.
How do I stop my paper from slipping while printing by hand?
Creating a simple registration jig or using a hinge method with masking tape will keep your paper perfectly aligned. You can tape one edge of your paper to your workspace so it acts as a hinge, allowing you to lift and check the print while printmaking without a press. This prevents the paper from shifting during burnishing, which is the most common cause of blurred or doubled images in hand-printing results.
Is it possible to do multi-colour prints without a press?
Multi-colour prints are entirely possible using techniques like the White Line method or reduction printing. The key is ensuring your paper and block are registered, or aligned, correctly for every layer of colour. Because you are applying pressure by hand, you have the advantage of being able to check each layer's transfer as you go, making it easier to adjust your technique for different ink colours and densities on the block.

Article by
Art Parts Fine Arts
Art Parts Fine Arts is an Australian art-supplies store based in Albury, shipping Australia-wide. Hand-picked by artists, our range covers paints, canvas, brushes, paper, printmaking and more, for everyone from students to professionals. We share practical guides and tips to help you get the most out of your materials.
Disclaimer
This article is general information to help you choose and use art materials. It is not professional, health or safety advice. Always follow the manufacturer's instructions and safety guidance for any product, and take care when using solvents, varnishes and other materials. Product availability, specifications and pricing may change, so please check the current product page for details.